

Lepsta was designed to help you increase your productivity by automating manual work that you are required to do as a developer. If you want to know why you should be trying out Lepsta, or simply want to learn more about it, take a look at this article:
 Lepsta Blog
Setting up your first repository on Lepsta is simple, this article aims to guide you and help you get started.
1. Create a Lepsta account
To create a new account, head over to https://lepsta.tech/auth/signup. All you need is an email address (that belongs to you) and a creative mind to setup a secured username-password combination. Alternatively, you can use your Github or Bitbucket account to sign up.
2. Create/import your first repository
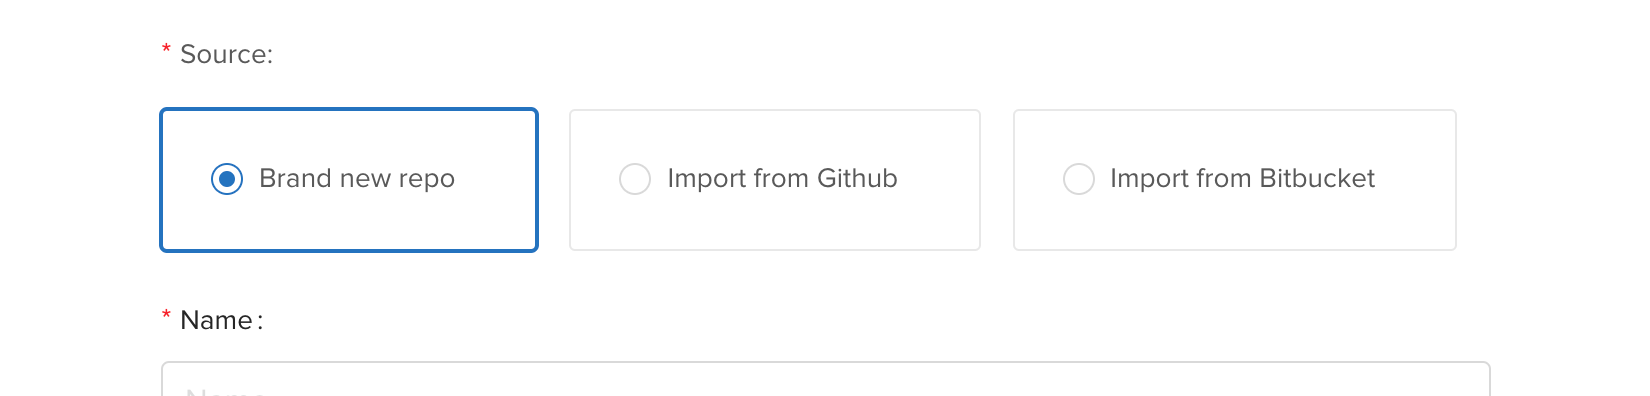
Lepsta allows you to create a repository that will be linked with an existing repository hosted on Github or Bitbucket. Or, for new projects, a brand new one hosted on Lepsta.
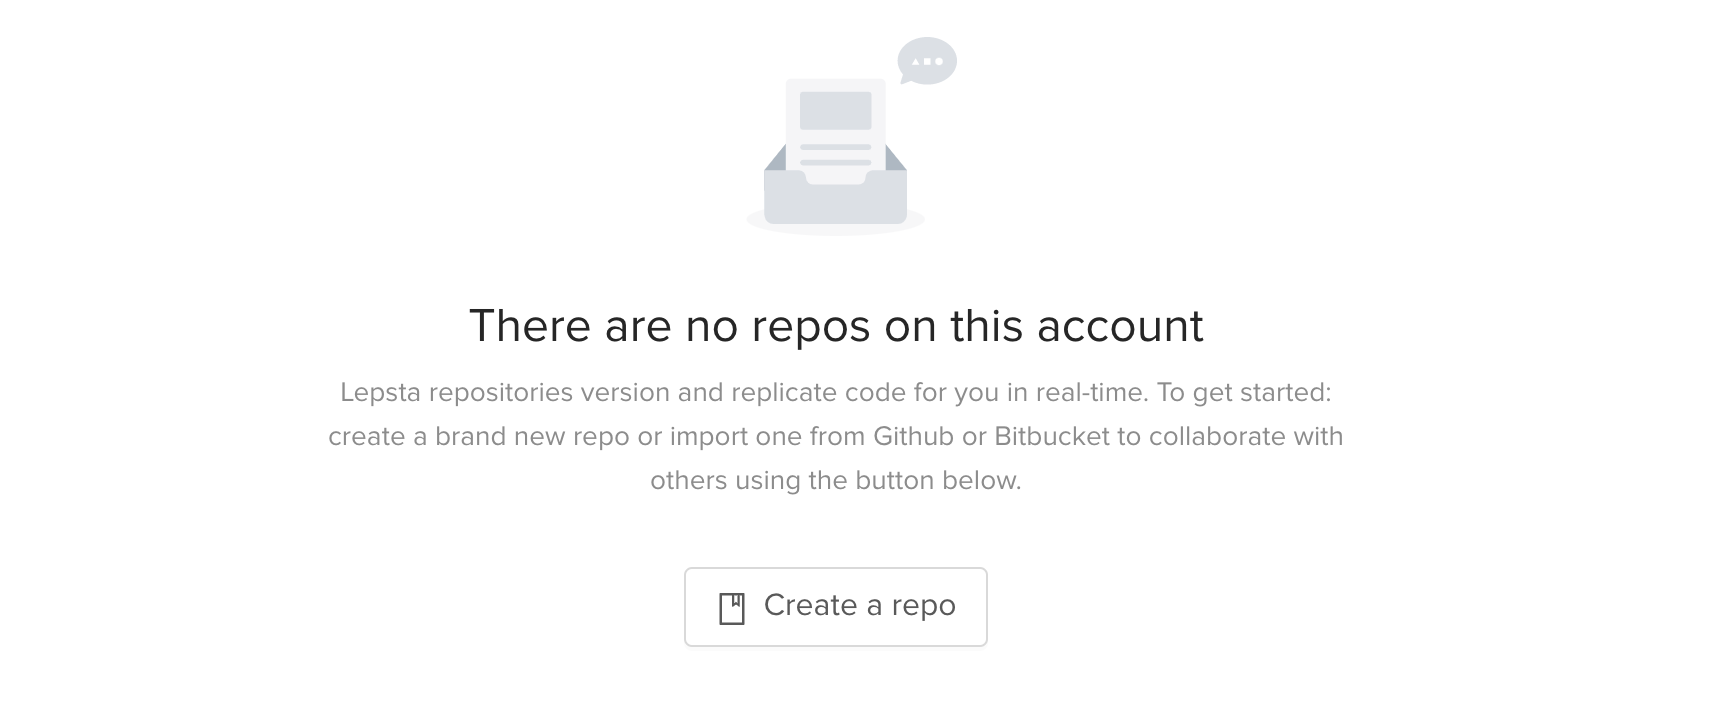
When you see this page, simply click the "Create a repo" button, and it will give you different options to set up your repository.
Note: Importing a repository from Github/Bitbucket does not remove it from these services. It simply creates a link so that changes can be propagated between the two.
3. Install Uju, the Lepsta version control tool
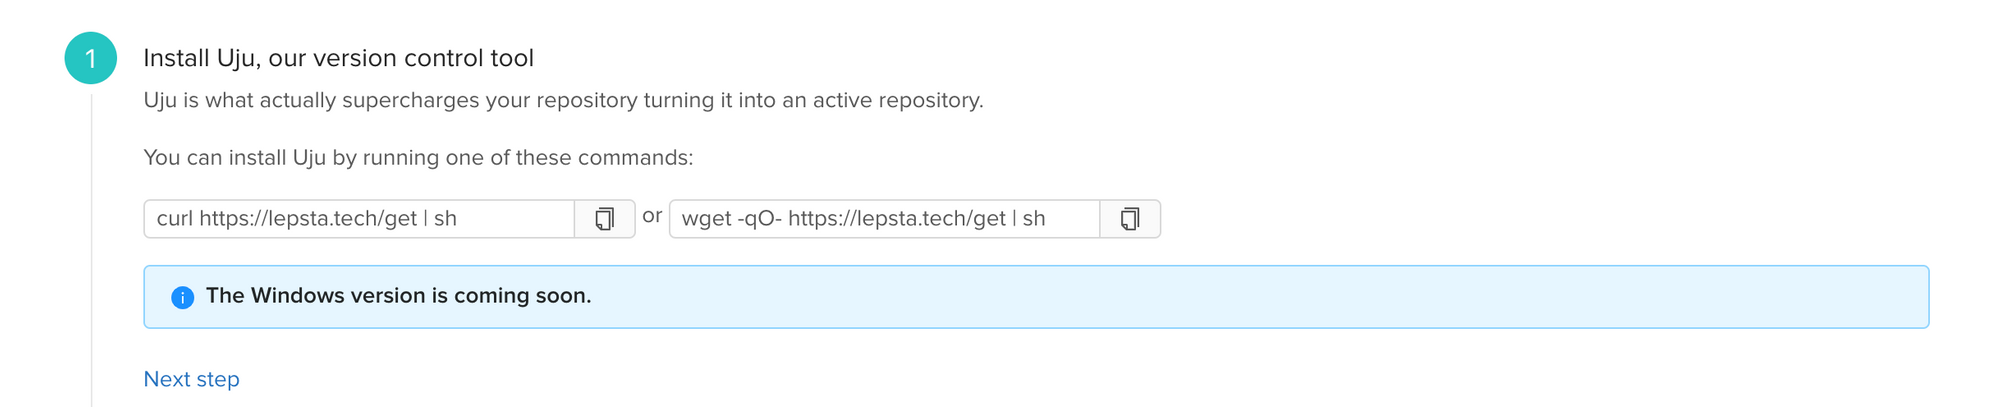
Uju (means honey in Zulu) is a version control tool developed specifically for Lepsta. It is designed to make automation possible during development to allow the developer to focus on just writing code.
Once you've created the repository, you will get instructions on how to setup Uju on your development computer which looks something like this:
4. Login from your development computer
Once Uju is installed and running, you can login using your platform credentials to give Uju access to your platform account. To do that, you can run the following command:

Once authenticated, you are ready to download your Lepsta repositories to your development computer.
5. Download (or mount) the repository
The last step is to download your repository so that you can start contributing changes to it. To do that, copy the command provided:

If all goes well, you will have your repository ready to accept and sync changes.
You can test your repository by editing some files inside the folder and save the changes. To check that all changes were synced, go to the platform and refresh the repository page. You should see a stream (named using your username). Click on it to view your changes.
If this doesn't work, please refer to Known Errors to see if your issue is not already documented.
Lepsta Blog